A Complete Guide to Bukkit: Download, Server Hosting, and Copying Minecraft Worlds
If you’re looking to expand your Minecraft server’s capabilities with plugins, Bukkit is one of the best tools to do so. With Bukkit, you can run custom plugins that enhance your server’s gameplay, manage permissions, automate tasks, and much more. This guide will walk you through everything you need to know about Bukkit download, setting up a Bukkit server, Bukkit server hosting, and how to copy Minecraft worlds for backups or transfers.
What is Bukkit?
Bukkit is a Minecraft server software that allows you to add and run plugins on your Minecraft server, giving you more control and customization over the game. It’s widely used by server owners who want to add features beyond vanilla Minecraft, such as mini-games, economy systems, permissions management, and more.

Bukkit Download: How to Get Bukkit for Your Server
Before you can set up a Bukkit server, you need to download the Bukkit software. Here’s how you can do it:
Step 1: Download CraftBukkit
Bukkit itself is an API, so to run a Minecraft server with Bukkit, you need to use CraftBukkit, which implements the Bukkit API. Here’s how you can download it:
- Visit a Trusted Source: You can download CraftBukkit from trusted sources like SpigotMC or GetBukkit.
- Choose the Correct Version: Make sure you download the version of CraftBukkit that matches your Minecraft version. New versions are released to match the latest Minecraft updates.
- Download the JAR File: Once you’ve selected the version, download the CraftBukkit .jar file, which is necessary to run your Bukkit server.
Step 2: Setting Up Bukkit Server
Once you’ve completed the Bukkit download, you can begin setting up your server.
- Create a New Folder: Create a folder where you’ll store all of your server files. Name it something like “Bukkit Server.”
- Place the CraftBukkit JAR File: Move the CraftBukkit.jar file into the folder you just created.
- Create a Start Script: In the server folder, create a new text file. Copy and paste the following code into it:bashКопіювати код
java -Xms1G -Xmx2G -jar craftbukkit.jar nogui pauseSave the file as start.bat (for Windows) or start.sh (for Mac/Linux). - Run the Script: Double-click the start.bat (or start.sh) file to start your Bukkit server. This will generate necessary files and folders, including the eula.txt file.
- Accept the EULA: Open the eula.txt file and change
eula=falsetoeula=true. Save and close the file. - Start the Server Again: Run the start.bat file again, and your server will now be up and running!
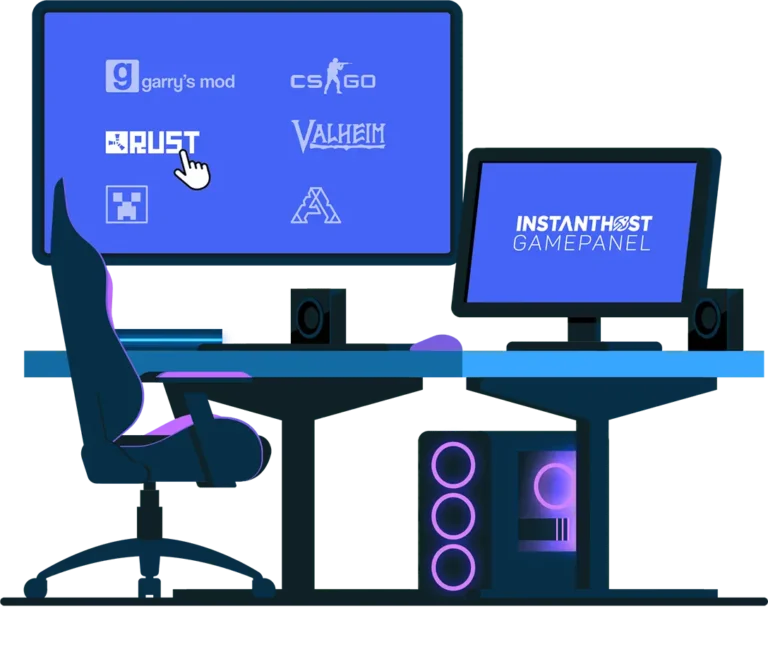
Bukkit Server Hosting Options
Once your Bukkit server is running, you may choose to either self-host it on your computer or use a professional Bukkit server hosting service.
1. Self-Hosting:
- Pros: No monthly fees, full control over server settings, ability to run on your own hardware.
- Cons: Requires a strong internet connection, can affect your PC’s performance, and limits uptime since your PC must be running for the server to be active.
2. Bukkit Server Hosting Providers:
If you want a 24/7 server without managing the hardware, you can rent a server from a professional hosting provider. These services take care of server uptime, updates, backups, and offer easy setup for Bukkit servers.
Popular hosting providers include:
- HostHorde: Provides easy one-click installation for Bukkit and supports plugins.
- Apex Hosting: Known for fast server speeds and 24/7 support.
- MCProHosting: One of the largest Minecraft hosting services, offering Bukkit pre-installed.
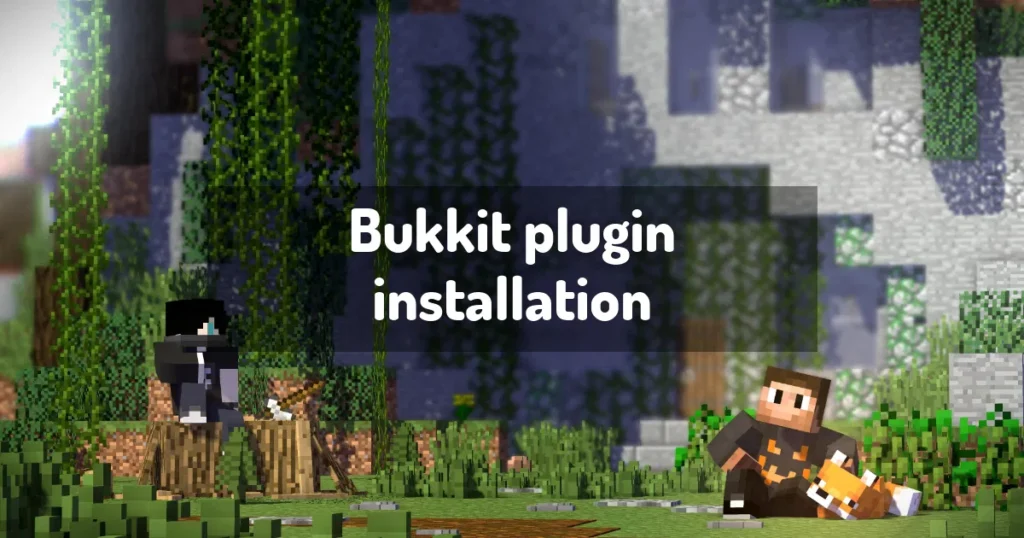
Setting Up Plugins on a Bukkit Server
Once your Bukkit server is up and running, you can install plugins to customize your server further:
- Download Plugins: Visit websites like SpigotMC or BukkitDev to download the plugins you want.
- Install Plugins: Place the downloaded plugin JAR files into the plugins folder in your server directory.
- Restart the Server: After adding the plugins, restart your server for the changes to take effect.
How to Copy Minecraft Worlds: Save and Transfer Worlds
If you’ve built something amazing or want to back up your Minecraft world before making big changes, learning how to copy Minecraft worlds is essential.
Step 1: Locate the World Folder
- Open Minecraft Launcher: Start Minecraft and click Single Player to view your worlds.
- Find the Save Location: Go to your Minecraft installation directory. By default, your world saves are located at:mathematicaКопіювати код
C:\Users\[YourUsername]\AppData\Roaming\.minecraft\savesOn Mac, it’s located at:javascriptКопіювати код~/Library/Application Support/minecraft/saves
Step 2: Copy the World Folder
- Locate the World: Inside the
savesfolder, you will see folders corresponding to each world. The folder name will match the name of your world in Minecraft. - Copy the Folder: Right-click the world folder you want to copy, then select Copy.
- Paste the World: You can paste the world folder in a backup location (like an external drive) or move it to another computer or server by pasting it in the appropriate directory.
Step 3: Load the Copied World
To play a copied world on another PC or server:
- Paste the World Folder: Place the copied world folder into the saves folder on your other PC or server.
- Launch Minecraft: Open Minecraft and select Single Player to find your copied world. It should appear in your list of saved worlds, and you can start playing from where you left off.
Copying Minecraft Worlds to a Server
To transfer a single-player world to a Bukkit or any Minecraft server:
- Copy the World: Follow the steps above to copy your world folder.
- Upload to Server: If you’re using FTP or file manager, upload the world folder to your server’s root directory, where your current world folder is located.
- Edit server.properties: Open the server.properties file and set the
level-nameto the name of the world folder you just uploaded. - Restart the Server: Restart your server, and your copied world will now be live.
Conclusion
Bukkit is a powerful tool that enables Minecraft server owners to customize their gameplay with plugins and enhancements. Whether you’re setting up a Bukkit server or looking for Bukkit server hosting, this guide has covered the essential steps to get you started. Additionally, learning how to copy Minecraft worlds ensures that your hard-earned progress is always backed up or ready for transfer. With these skills, you can manage your server effectively and keep your Minecraft experience fresh and exciting.